

16 |
POWER EXCEL WITH MR EXCEL |
|
|
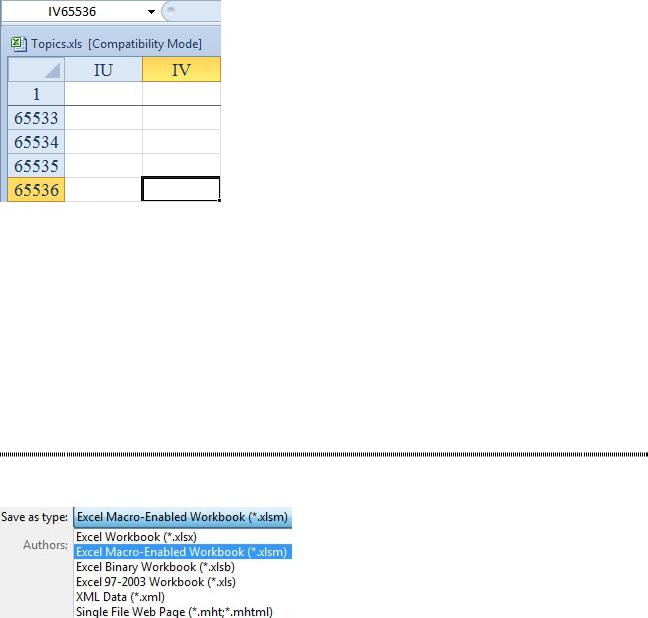
Figure 38 This workbook only has 65,536 rows.
Strategy: Files created in Excel 2003 and stored with an .xls extension are opened in Compatibility mode. In this mode, you can only access the original grid size.
If you will not be using this file in Excel 2003 anymore, you should convert it to the new file format. Open the File menu and choose Convert. Excel will update the file, save the file, close the file, and reopen the file. You will have access to the entire grid.
Additional Details: Excel’s larger grid introduces an interesting problem. In Excel 2003, you might have a spreadsheet with named ranges such as TAX15, ROI2019, and so on. These names are now actual cell addresses! If you open a workbook that had these names defined and then convert to a new file format, Excel will change the named range to _ROI2019 (with an underscore). While most of your formulas will update, any functions that use the INDIRECT function or VBA code might need to be manually updated.
WHICH FILE FORMAT SHOULD I USE?
Problem: I’ve been using .xls files for years. What are these new .xlsx, .xlsm, .xlsb, xlam, and .ods file types? Which should I use?
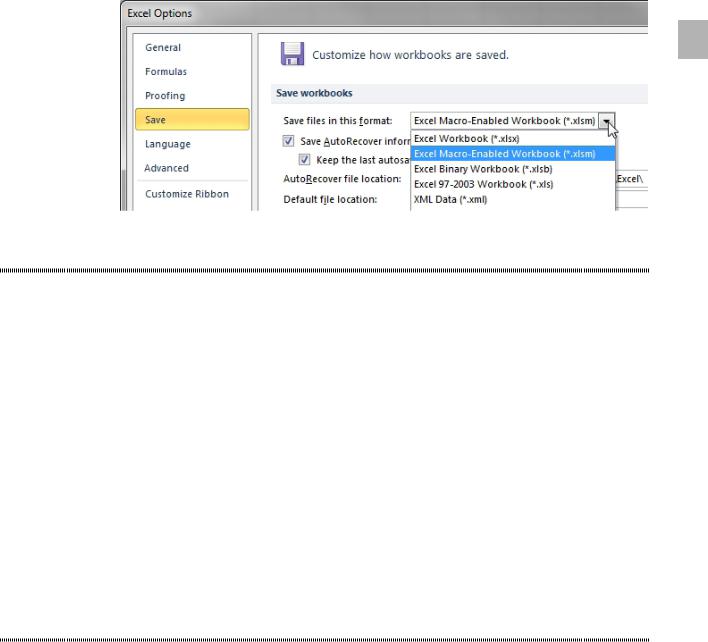
Figure 39 XLSX is the ugly step-sister that won’t allow macros.
Strategy: Excel 2003 used XLS, a proprietary binary format. The old .xls binary file format could not handle data beyond row 65,536. So, the new .xlsb file format is a proprietary binary file format that can handle the 17 billion cells in Excel.
The new .xlsm file format is an amazing file format. The entire spreadsheet is saved as a series of textbased XML files, and then that collection of files is zipped into a single file in order to save disk space. You can actually take a look at the insides of an .xlsm file. In Windows Explorer, if you rename the file and add a .zip extension, you can then open the file using any zip utility. This is a fairly exciting advancement because it means people will be able to use third-party tools to generate Excel files without having Excel on their computers. However, the .XLSM file takes a bit longer to open than .XLSB. My preference is .XLSM, but if you have particularly large files to open, then .XLSB might save you some time.
You can tell that security issues have taken a grip on the people at Microsoft. They’ve introduced a new file format that guarantees that there will be no macros inside. The .xlsx file format uses the same zipped file structure as .xlsm but deletes any macros in the file. As someone who uses macros all the time, I think this is a silly file format. I guess if you plan on doing everything manually in Excel and if you never have any plans to learn how to dramatically increase your efficiency with Excel, then you could adopt the .XLSX file format. Actually, if you fit into this category, you could use Google Docs!
.xlam is another new file format. Developers can deliver Excel add-ins in this file format.
PART 1: THE EXCEL ENVIRONMENT |
17 |
|
|
.ODS is a relatively new (2007) file format used across many different spreadsheet programs. Originally developed by Sun Microsystems, there is now a committee who oversees this format. It still isn’t quite perfect, as Microsoft points out that you can not robustly store track changes information in this format. If there are pockets of people in your company who are using spreadsheet programs other than Excel, this might be a good format for you.
In case you are working in an office where many people still use legacy versions of Excel, you can always use the Save As command to save an Excel file as an Excel 97-2003 file format. Excel actually supports saving to 27 different file formats, including CSV, DIF, SLK, and other specialized formats.
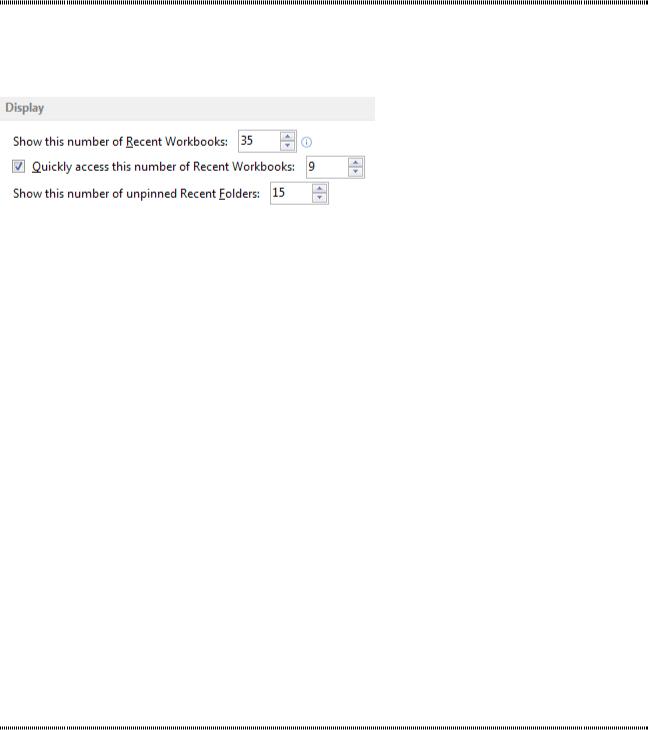
Additional Details: You will probably choose one file type and stick with it. I’ve been using .xlsm files without issue for seven years. If you decide on one format, you can tell Excel to always use that file format. To do so, you select File, Options, and in the left pane of the Excel Options dialog, you choose the Save category. From the top dropdown, you select your favorite file format, as shown here.
1
Figure 40 Choose a different file format
WHY DOES THE FILE MENU COVER THE ENTIRE SCREEN?
Problem: I opened the File menu, and it covers my worksheet.
Strategy: This is the new Backstage View in Excel 2010. The theory is that all of the commands on the
File menu are things you do once your document is done. Since you no longer need the feedback of seeing the command in the worksheet, Microsoft can fill the screen with three panels of information. Those extra panels provide a better experience for printing and recent files.
When you open the File menu, Excel fills 100% of your screen with a three-panel Backstage view. The left portion of the screen works like a left navigation bar. The middle portion of the screen contains a variety of commands related to the choice from the left navigation bar, and the right portion of the screen provides a view of the additional settings related to the command.
The left navigation bar of the Backstage view contains six commands and six categories.
When you invoke a command, the Backstage View closes and the command is performed. When you open a category, two additional panels will appear offering more choices.
The commands are at the top and bottom of the left navigation bar: Save, Save As, Open, and Close are at the top. Options and Exit are at the bottom.
The middle entries of Info, Recent, New, Print, Save & Send, and Help all lead to a two-panel display will more commands.
HOW DO I CLOSE THE FILE MENU?
Problem: When I try to close the Excel File Menu, my document closes.
Strategy: Click another ribbon tab or press Esc to close the backstage view and return to the worksheet.
There are three separate places in the File menu that offer an “X” that you would think would close the File menu. Unfortunately, all three of those “X” icons are for closing the workbook.
18 |
POWER EXCEL WITH MR EXCEL |
|
|
|
INCREASE THE NUMBER OF WORKBOOKS IN THE RECENT FILES LIST |
Problem: I routinely open the same 20 workbooks. How can I use the Recent Files list to make my life easier?
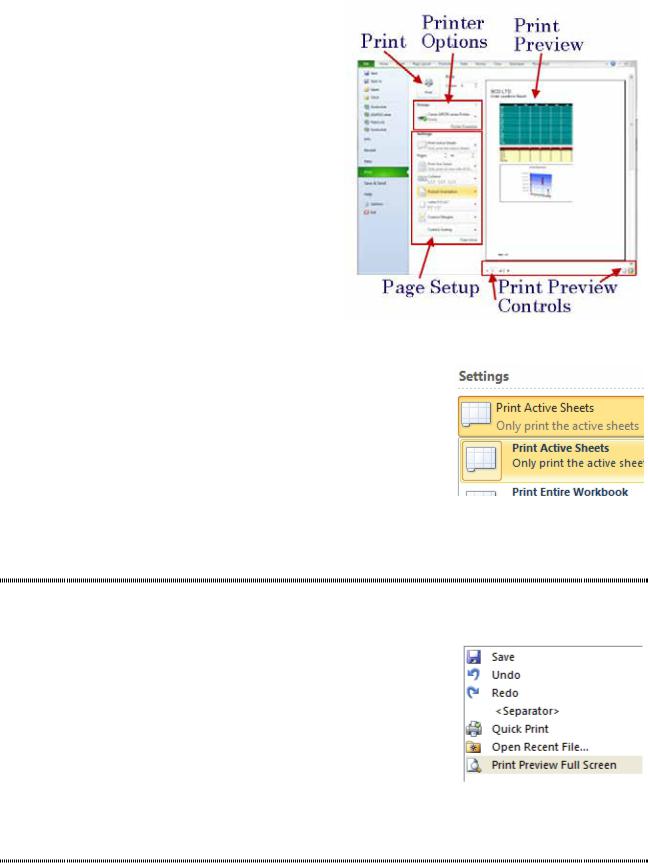
Strategy: You can show up to 50 recent workbooks. Go to File, Options, Advanced, Scroll down to Display and choose Show The Number of Recent Workbooks.
Figure 41 Change the number of recent workbooks available.
Gotcha: Although you can specify for the Recent Documents list to show up to 50 files, the number of files it can actually show is limited by your available screen space. If you have a 1440x900 monitor, as suggested in “Go Wide” on page 4, you will have room for only about 36 files. Excel will not add a second column nor a scrollbar to the Recent Documents to show more files.
Additional Details: The grey thumbtacks to the right of each workbook allow you to create favorites.
Click the thumbtack to pin a workbook to the Recent list. Say that you always use three workbooks dur- ing the accounting close. Over the course of a month, you open hundreds of files so those three documents scroll out of the Recent pane. By pinning them to the list, you will always have access to those documents in the Recent list.
Additional Details: The Recent Documents list in Excel 2016 works better than the Recently Used File List in Excel 2003. The old list worked fine for files opened through File, Open, but it failed to note files that were opened by double-clicking in Windows Explorer. Now, the Recent Documents list will note files that are opened through Windows Explorer or even files opened through a macro.
Excel’s File menu might or might not show you Recent Workbooks. If you don’t have another workbook open, clicking File will get you to the Recent pane. If another workbook is open, you will see the Info pane instead. By using the second checkbox in the image above, you can always see 9 recent documents in the File menu.
Using the option in the figure above allows you to use Alt+F+3 to open the third most recent document.
Gotcha: If you are snooping around in files that you should not be looking at, the Recent Documents list can be problematic. The operation of the list changed since Excel 2003. It used to be that you could de- lete file 5 from the list by changing the setting to 4 files and then back to 9 files. This would clear items 5 through 9 from the list. An “improvement” in Excel 2007 is that if you change the setting from 50 to 5 and then back to 50, Excel will immediately return to showing the last 50 items in the list. If you are trying to hide your trail, you have to set the setting back to 0 files. This is the only way to delete the file list from the cache.
CHANGE ALL PRINT SETTINGS IN EXCEL
Problem: Print settings appear in many different places in Excel. I am never sure if I should go to Page
Setup, the Print dialog, or the Options button in the Print dialog.
Strategy: Excel 2016’s File menu uses the Print panel. Get there by using Ctrl+P or File, Print. This panel leverages all of the goodness of the three-panel Backstage View.
PART 1: THE EXCEL ENVIRONMENT |
19 |
|
|
|
|
As shown below, the Print panel offers settings |
|
|
from the Print dialog, Printer Options dialog, Page |
|
|
Setup dialog, and the Print Preview. |
|
|
Additional Details: There are a few tricks to the |
|
|
Print pane. Look below the Print Preview on the |
|
|
right side of the screen. Little icons there give you |
|
|
all of the functionality that you might have used |
|
|
in the legacy print preview. The far right icon is |
|
|
Zoom. The icon to the left of zoom will draw the |
|
|
margins and column width markers in so you can |
|
|
adjust them in the preview. Move to the next page |
|
|
using the page control on the bottom left side of the |
|
|
Print Preview. |
|
|
Gotcha: If you don’t have a wide screen monitor, |
|
|
|
1 |
|
and if your document is in landscape mode, you |
|
|
may not like the print preview in this panel. Go |
|
|
back to the old Print Preview as discussed in the |
|
|
previous topic. |
|
|
Figure 42 Most of the print settings in one place.
Additional Details: The Settings section of the Print panel offers a new type of control. Normally, you might have a dropdown called Orientation. You would open the dropdown to see Portrait and Landscape and to see that one of those items is selected. The Office team created a new control for this panel that shows you the current selected item. When you open the dropdown, you see additional choices.
Figure 43 The dropdown name shows you what is selected.
I JUST WANT THE OLD PRINT PREVIEW BACK
Problem: I don’t like change. I don’t have time to learn about the backstage view. I don’t like anything new. Just give me the old Print Preview command.
Strategy: Customize the Quick Access Toolbar as shown back near Figure 34. Choose All Commands from the left dropdown. Scroll down until you find Print Preview Full Screen. Add this to the Quick Ac- cess Toolbar or to a Ribbon group.
Microsoft left the Print Preview Full Screen in Excel for people who write macros and need the macro to pause while someone deals with the print preview set- tings. Using the icon above will allow you to use the old familiar Print Preview.
Figure 44 This is the old Print Preview.
GET QUICK ACCESS TO FORMATTING OPTIONS USING THE MINI TOOLBAR
Problem: Why do I have to always go to the top of the window to reach formatting commands? I loved having floating toolbars in Excel 2003. Why did Microsoft get rid of them?
Strategy: Excel now offers one floating toolbar, but it is elusive. Here’s how you use it: